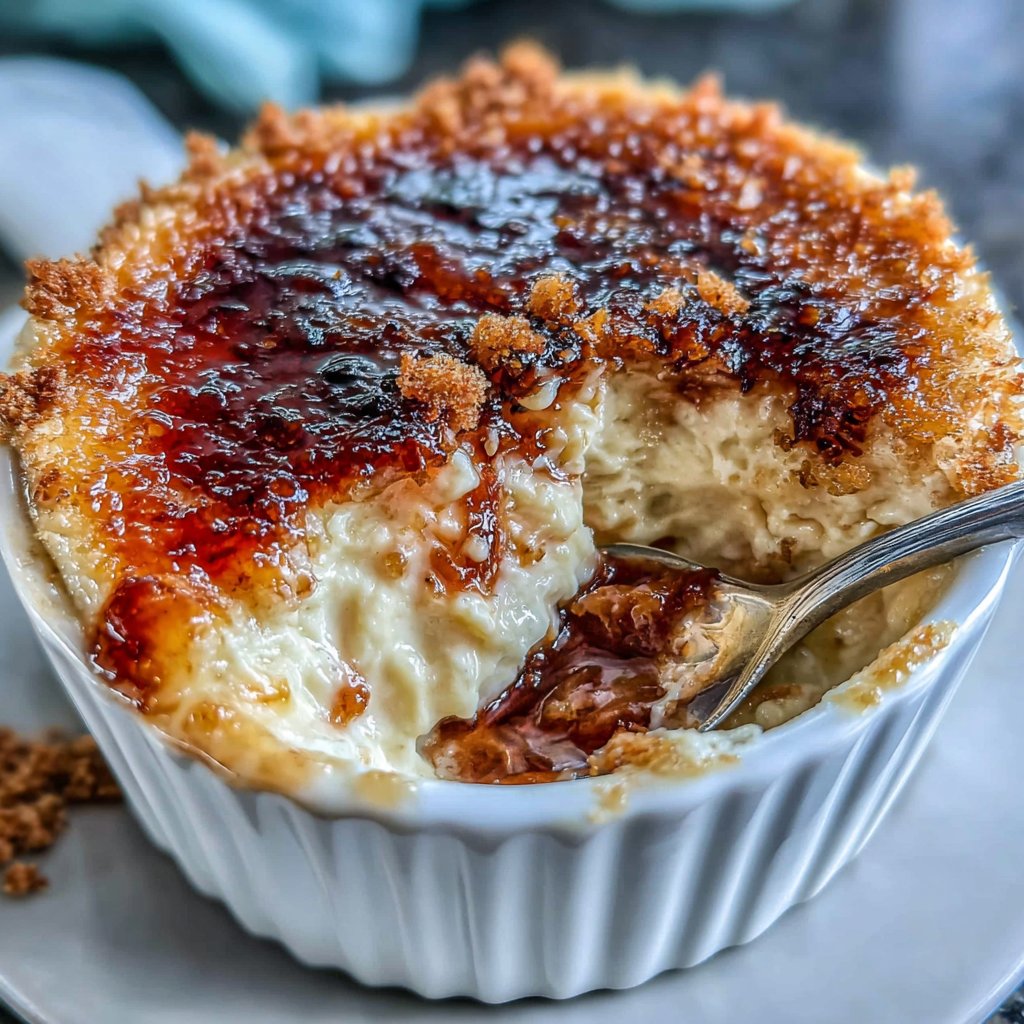
Vanilla Bean Creme Brulee
Highlighted under: Home Bakery Recipes
I’ve always been captivated by the silky texture and rich flavor of Vanilla Bean Crème Brûlée. Crafting this classic dessert at home has become one of my favorite culinary adventures. With the subtle sweetness of vanilla beans, it transforms a simple cream into an indulgent treat that is sure to impress. The process is almost meditative, and there’s something immensely satisfying about cracking the caramelized sugar crust with a spoon. Join me in creating a dessert that’s perfect for any occasion, whether it’s a dinner party or just a special night in.
Preparing Vanilla Bean Crème Brûlée was an experience that thrilled my senses. As the aroma of the vanilla filled the kitchen, I knew I was on the right path to creating something truly special. Using fresh vanilla beans instead of extract really elevates the flavor, making each bite unforgettable. I found that controlling the temperature during baking is key to achieving that luscious, creamy texture.
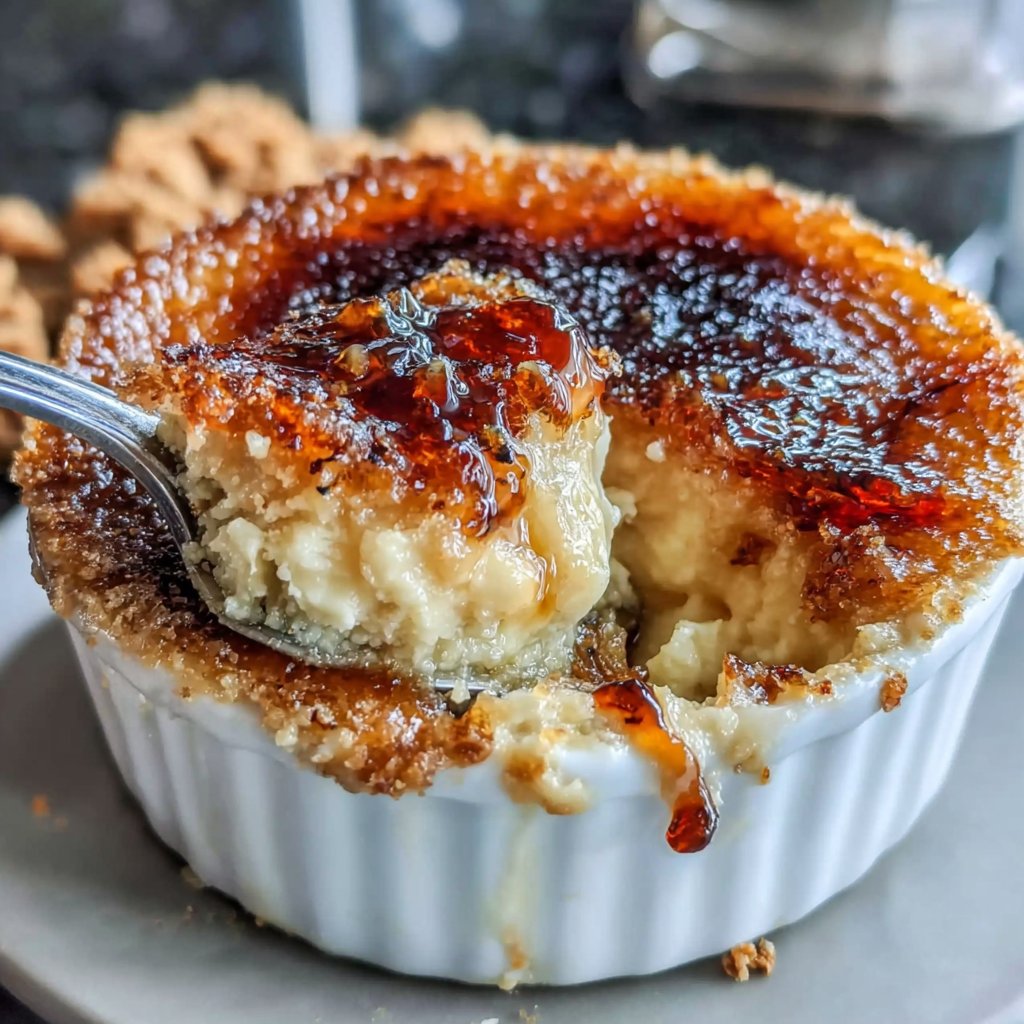
When it came time to caramelize the sugar topping, I used a kitchen torch, which is both fun and effective. A tip I learned is to keep the torch moving to avoid burning any spots. The contrast between the crispy top and the creamy custard is pure magic, creating a dessert that feels luxurious yet is surprisingly approachable.
Why You'll Love This Recipe
- The aromatic richness of real vanilla beans enhances every bite.
- The satisfying crack of the caramelized sugar is pure bliss.
- It’s a showstopper dessert that impresses guests and family alike.
Mastering the Custard
Achieving the perfect custard for Vanilla Bean Crème Brûlée hinges on the gentle infusion of flavors. The heavy cream serves as a luscious base, while the real vanilla bean elevates the dessert with its complex aroma and taste. As you heat the cream, watch for small bubbles forming along the edges—this indicates it's reaching the right temperature. Letting the vanilla pod steep off the heat for 15 minutes allows the flavors to meld beautifully, ensuring each bite is aromatic and rich.
When mixing the egg yolks with sugar and salt, aim for a pale color and slightly thickened consistency. This not only affects the custard's texture but also ensures even incorporation of ingredients. A whisk is best for this step, as it aerates the mixture slightly; however, be careful not to over-whisk, which could introduce unwanted air and prevent a smooth custard. Should you accidentally overheat the cream, cooling it slightly before adding to the yolks can help avoid curdling.
Baking and Chilling
The water bath, or bain-marie, is crucial for baking the custards evenly. It regulates the temperature, preventing the edges from cooking too fast and possibly curdling while the center remains undercooked. When placing the ramekins in the water bath, carefully ladle the hot water to avoid spilling. The custards are ready when the edges are set but a gentle jiggle remains in the center—this should take about 35-40 minutes. Once they’re out, allowing them to come to room temperature before chilling ensures a smoother texture.
After baking, be sure to cover the ramekins with plastic wrap and refrigerate them for at least 2 hours, or overnight if possible. This cooling step is essential as it allows the flavors to develop fully and leads to the perfect custard texture. If you're pressed for time, try to chill them for a minimum of two hours; however, the longer wait improves the overall flavor and texture, making the effort well worth it.
Caramelizing and Serving
When it comes time to caramelize the sugar on top, a kitchen torch provides the best control to achieve the perfect hard candy crust. If you’re using a broiler, keep a close eye to avoid burning; it should only take about a minute for the sugar to turn a golden brown. I find that sprinkling the sugar evenly allows for a more consistent caramel layer. If the layer is too thick, it won’t harden properly, so aim for about 1/4 cup total distributed across all ramekins.
Once you’ve caramelized the sugar, let it cool briefly—it should harden as it cools, creating that satisfying texture that contrasts beautifully with the creamy custard beneath. Serving immediately after forming the crust is ideal for the best crunch, but if you need to prepare ahead of time, the custards can be made a day prior. Just remember to add the sugar and caramelize right before serving for maximum quality.
Ingredients
For the Custard
- 2 cups heavy cream
- 1 vanilla bean, split and scraped
- 5 large egg yolks
- 1/2 cup granulated sugar
- 1/4 teaspoon salt
For the Topping
- 1/4 cup granulated sugar, for caramelizing
Make sure to have all ingredients fresh for the best results!
Instructions
Preheat and Prepare
Preheat your oven to 325°F (160°C). Prepare a baking dish by placing four ramekins inside, then fill the dish with hot water about halfway up the sides of the ramekins to create a water bath.
Infuse the Cream
In a saucepan, combine the heavy cream and the scraped vanilla bean along with its pod. Heat over medium until it just starts to simmer, then remove from heat and let it steep for 15 minutes.
Mix Egg Yolks
In a mixing bowl, whisk together the egg yolks, granulated sugar, and salt until pale and slightly thickened.
Combine and Strain
Remove the vanilla pod from the cream and slowly pour the infused cream into the yolk mixture while whisking continuously to prevent curdling. Strain the mixture through a fine-mesh sieve to ensure a silky custard.
Bake
Pour the custard into the ramekins and carefully place them in the preheated water bath. Bake for about 35-40 minutes, or until the edges are set but the center remains slightly jiggly.
Chill
Remove the ramekins from the water bath and let them cool to room temperature. Cover them with plastic wrap and refrigerate for at least 2 hours, or overnight.
Caramelize
Before serving, sprinkle a thin layer of granulated sugar on top of each custard. Use a kitchen torch to melt the sugar until it forms a crispy layer, or place them under broiler for a minute watching closely to avoid burning.
Serve
Allow the sugar topping to cool and harden for a minute before serving. Enjoy your homemade Vanilla Bean Crème Brûlée!
Serve with fresh berries for an added touch of elegance!
Pro Tips
- Using fresh vanilla beans makes a significant difference in flavor, so don't skimp on quality. If you don’t have a kitchen torch, broiling works too, but be extra cautious not to burn the sugar.
Ingredient Insights
Using a real vanilla bean in this recipe is crucial for the authentic flavor profile. While vanilla extract can serve as a substitute in a pinch, it lacks the depth and aromatic nuances of fresh beans. If opting for extract, use about 1 tablespoon per vanilla bean and add it to the cream after steeping to provide some flavor enhancement without overwhelming the delicate custard.
Egg yolks not only impart richness to the crème brûlée but also act as a natural thickener. It’s best to use large, fresh eggs as their yolk-to-white ratio is optimal for achieving a creamy custard. In case you need an alternative, silken tofu can provide a vegan option, ensuring proper blending and texture, but results may vary in flavor.
Troubleshooting Tips
If your custard turns out grainy or curdled, it’s likely that the cream was too hot when combined with the egg yolks. In order to prevent this, always remove the cream from the heat before adding it to the yolks and pour it in slowly while whisking continuously. If curdling occurs after baking, try lowering the baking temperature slightly next time or adjusting your baking time to achieve a more gentle cook.
Storing any leftover crème brûlée can be tricky due to the caramel topping. If you find yourself with extras after serving, store the custards without the sugar crust in the refrigerator, covered tightly with plastic wrap. You can flavor and caramelize just before your next indulgence, ensuring each serving has that delightful crunch.
Questions About Recipes
→ Can I make this dessert ahead of time?
Yes, you can prepare the crème brûlée custard a few days in advance and keep it refrigerated until ready to serve.
→ What if I don't have ramekins?
You can use small, oven-safe dishes or even muffin tins, just ensure they're suitable for the water bath method.
→ How do I store leftover crème brûlée?
Cover and refrigerate it without the caramelized sugar topping for up to 2 days. Add the sugar and torch it just before serving.
→ Can I use vanilla extract instead of vanilla beans?
Yes, you can substitute with 1-2 teaspoons of pure vanilla extract, though the flavor won't be as rich.
Vanilla Bean Creme Brulee
Created by: The Opheliaskitchen Team
Recipe Type: Home Bakery Recipes
Skill Level: Intermediate
Final Quantity: 4 servings
What You'll Need
For the Custard
- 2 cups heavy cream
- 1 vanilla bean, split and scraped
- 5 large egg yolks
- 1/2 cup granulated sugar
- 1/4 teaspoon salt
For the Topping
- 1/4 cup granulated sugar, for caramelizing
How-To Steps
Preheat your oven to 325°F (160°C). Prepare a baking dish by placing four ramekins inside, then fill the dish with hot water about halfway up the sides of the ramekins to create a water bath.
In a saucepan, combine the heavy cream and the scraped vanilla bean along with its pod. Heat over medium until it just starts to simmer, then remove from heat and let it steep for 15 minutes.
In a mixing bowl, whisk together the egg yolks, granulated sugar, and salt until pale and slightly thickened.
Remove the vanilla pod from the cream and slowly pour the infused cream into the yolk mixture while whisking continuously to prevent curdling. Strain the mixture through a fine-mesh sieve to ensure a silky custard.
Pour the custard into the ramekins and carefully place them in the preheated water bath. Bake for about 35-40 minutes, or until the edges are set but the center remains slightly jiggly.
Remove the ramekins from the water bath and let them cool to room temperature. Cover them with plastic wrap and refrigerate for at least 2 hours, or overnight.
Before serving, sprinkle a thin layer of granulated sugar on top of each custard. Use a kitchen torch to melt the sugar until it forms a crispy layer, or place them under broiler for a minute watching closely to avoid burning.
Allow the sugar topping to cool and harden for a minute before serving. Enjoy your homemade Vanilla Bean Crème Brûlée!
Extra Tips
- Using fresh vanilla beans makes a significant difference in flavor, so don't skimp on quality. If you don’t have a kitchen torch, broiling works too, but be extra cautious not to burn the sugar.
Nutritional Breakdown (Per Serving)
- Calories: 380 kcal
- Total Fat: 26g
- Saturated Fat: 15g
- Cholesterol: 195mg
- Sodium: 85mg
- Total Carbohydrates: 32g
- Dietary Fiber: 3g
- Sugars: 24g
- Protein: 6g